If you know how to do pin-curls already, then this will be a cinch, it just takes it a step further by doing upright pincurls, and pinning the finished curls in a 40s style. I've been pin purling my hair for about a year, and it takes me 5 to 10 minutes to pin everything at night, and about 1 minute in the morning to brush it out and style it. So for anyone saying they don't have an hour to style their hair in the morning: Seriously, one minute.
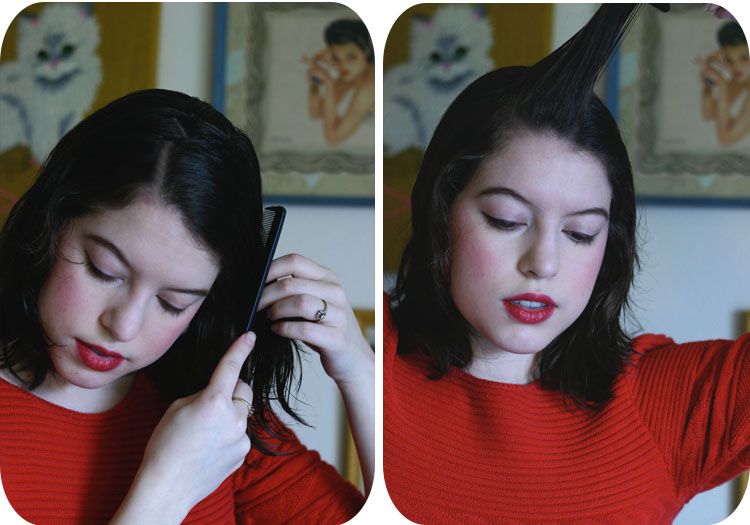
Make sure your hair is thoroughly wet, from root to end. I take showers at night, so that's not an issue. Otherwise stick your head under a sink!
I have thick hair that holds curl very well, so I don't use any sort of setting lotion. But if you have fine hair, or you just need extra help holding the curl, I've heard great things about Lottabody setting lotion. So, if you need a setting lotion, now is the time to apply it, and brush your hair smooth.
Part your hair at the side, then section off a portion of locks between your side part, and a middle part...
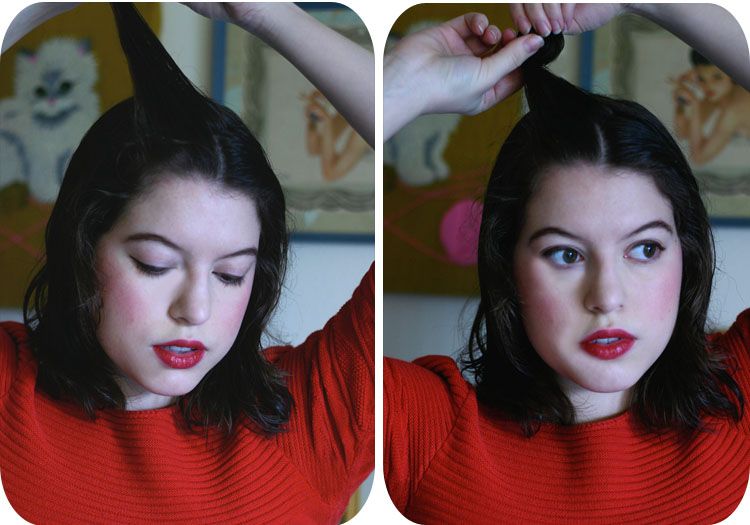
...brush the section in the opposite direction, at a diagonal. Now, instead of rolling the curl flat on your head, roll the curl upright, and pin at the base of your hair, right where the little arrow is.
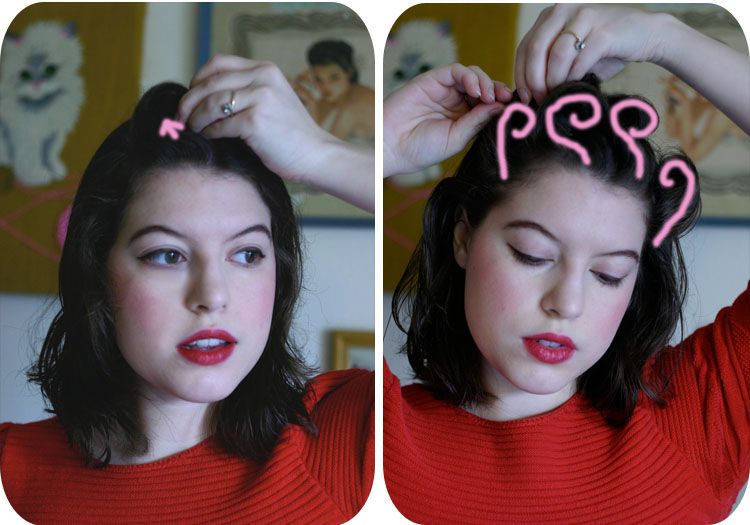
Continue to do three more upright pin curls, in the directions shown in pink.
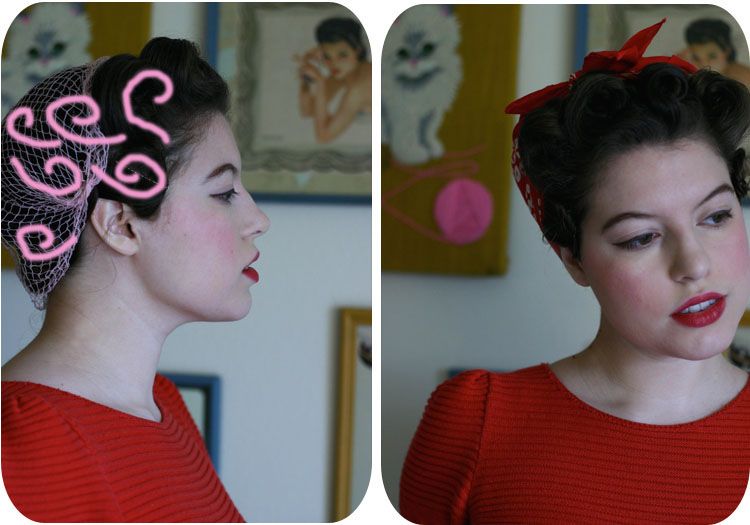
As for the rest, I do a back an forth, flat pincurl technique, and secure a hair net. The front actually looks like a style, so if you want to make it pretty, and show off the front curls, add a headscarf using this tutorial.
At this point I sleep, and let time do the work for me. If you are pressed on time, or wake up to some dampness, sit under a hood dryer until the set is completely dry. I always do a heat setting, and once dry, do a few minutes of cool to strengthen the curls and add a bit of shine ;)
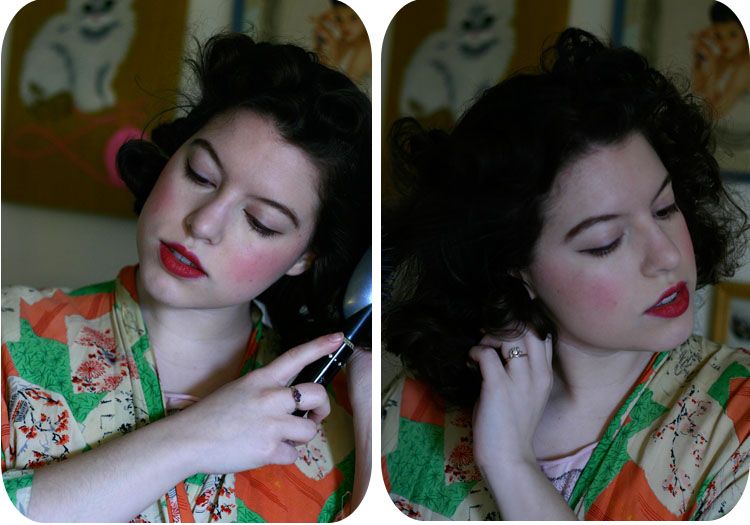
Once your set has dried, take the bobby pins out and use a large brush if you have a strong curl hold, or use your fingers if you have a weak hold. Fluff everything up, I take my brush and brush out instead of down. You will look like an 80s rock star. Don't panic.
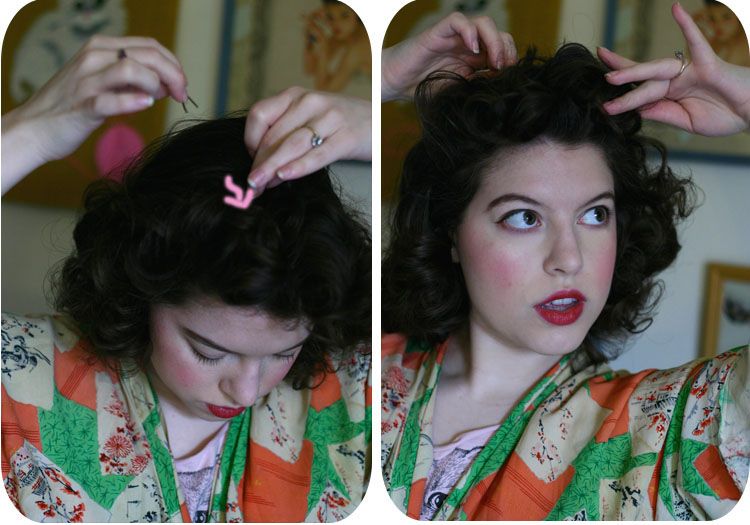
Brush the upright pincurls up, then add a little pomade and work that through with your fingers. Play with it a bit, brush more if needed, fluff it up, and once it looks like a nice, even set of curls, take a bobby pin, and pin from the back forward. Do this at various places on your crown, until it looks satisfactory. It should have lots of body, and the pins should be hidden from the front view. It takes me about three to four pins, but use as many as necessary.
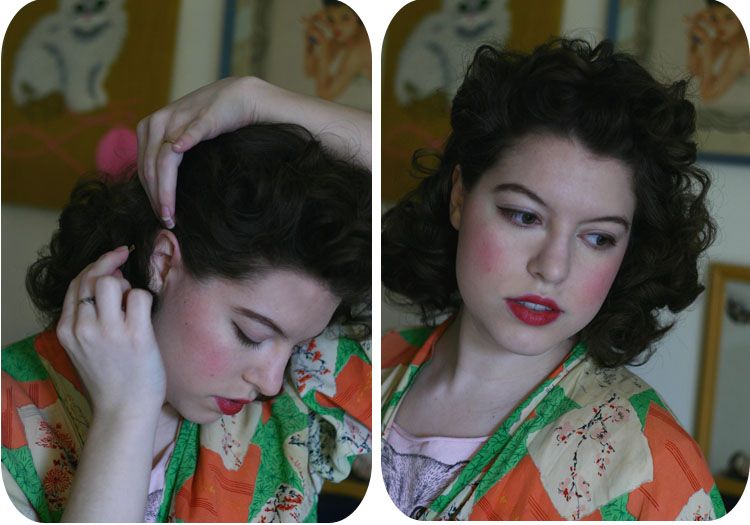
Now, take the side of your hair, and pull back, pinning right above the back of your ear. Criss cross the pins if needed. You can also nix the pins and use some pretty combs! The photo on the right shows the difference between one side being finished, and the other only being half done. The pinning back makes a world of difference.
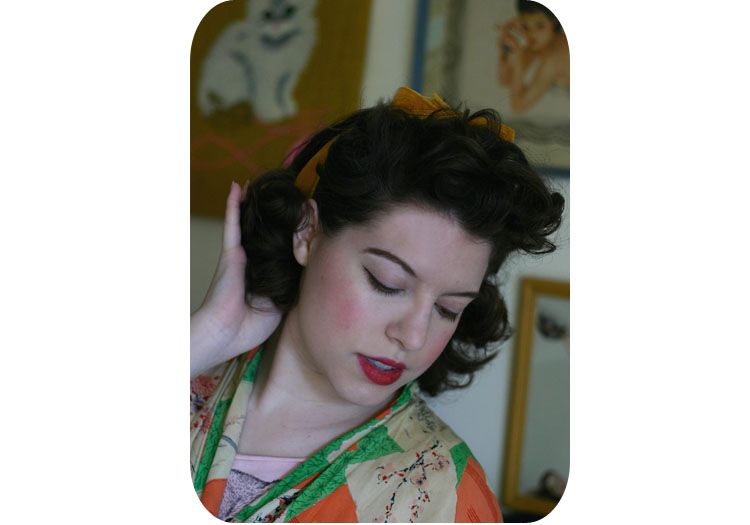
The finished style will look something like this. Add a ribbon, scarf, hat, or leave it be, you now have an authentic 1940s hairstyle :)